Note: We no longer sell Fanimation Islander ceiling fans, but we do offer a variety of tropical ceiling fans, many of which are manufactured by Fanimation. We welcome you to read our newly-published article where were outline the best tropical ceiling fans by category:
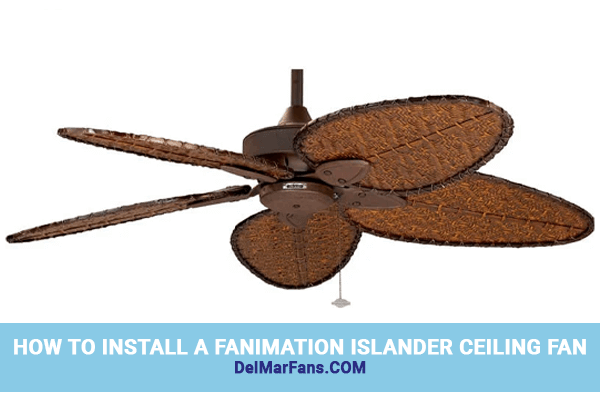
A tropical getaway in the comfort and privacy of your home is just a few clicks away with a Fanimation Islander fan. Fanimation tropical fans add an exotic feel to indoor and outdoor spaces with a wide range of tropical fan blades. At Del Mar Fans & Lighting, we aim to inspire our customers to create their own tropical getaway in the comfort of their homes with our Fanimation Islander ceiling fan installation video below.
Customize Your Fanimation Islander Ceiling Fan
The Fanimation Islander offers a variety of blade, lighting, and size options. Choose from an exotic array of blade sets such as Cairo purple blades, natural palm leaf blades, all-weather palm blades, and woven bamboo blades. These ceiling fans are available with or without lighting; however, you may want to opt for a hand-painted parrot light kit for a genuine island experience.
We used a 52-inch Islander ceiling fan with UL-damp woven bamboo blades. This UL-damp rated ceiling fan is appropriate for indoor and outdoor damp locations, and produces a cooling airflow of 5,580 cubic feet per minute. The fan is ideal for rooms ranging in size from 150 square feet to 300 square feet such as standard bedrooms, living rooms, covered patios, and sunrooms. With nearly 95 ceiling fan variations, these ceiling fans by Fanimation are suitable for any type of installation, including angled and low profile ceiling applications.
MATERIALS
- Phillips Head Screwdriver (included)
- Wire Cutters
- Ladder
PRODUCTS USED
For this installation, we utilized a Fanimation Islander ceiling fan in an oil-rubbed bronze finish.
Install a Fanimation Islander in Seven Breezy Steps
Prior to installing your new ceiling fan, verify the owner's manual, ceiling fan parts, and hardware are all included in the packaging. Turn the power off at the circuit breaker box and wall switch. Follow the steps below as a guide:

- Install the hanger bracket to the junction box with the screws provided. Attach the safety cable to the ceiling joist.
- Pre-assemble the ceiling fan blades and downrod assembly. Attach the downrod to the motor housing.
- Hang the motor assembly from the hanger bracket. Attach the safety cable to the ceiling support cable. (Note: Required for Canadian installations)
- Connect all wires with the plastic wire nuts provided. Carefully the connections into the outlet box.
- Attach the the canopy housing to the mounting bracket with the screws provided.
- Attach the pre-assembled blades to the bottom of the motor hub with the screws provided. Tighten all screws once all the blades are attached.
- Attach the housing switch onto the adaptor with the screws provided. Install the lower switch housing cup with the screws provided.
After completing the Fanimation Islander ceiling fan installation, restore power and insert a battery into the six-speed handheld remote. Press and hold the set button up to five seconds to synchronize the ceiling fan and remote.
We can’t wait for you to enjoy the cooling breeze of your new Fanimation Islander ceiling fan. You will immediately be whisked away by the comfort and style. The Fanimation brand also makes a whole line of wall fans that compliment all of there ceiling fans. Leave a comment below and tell us what your ideal getaway looks like.


