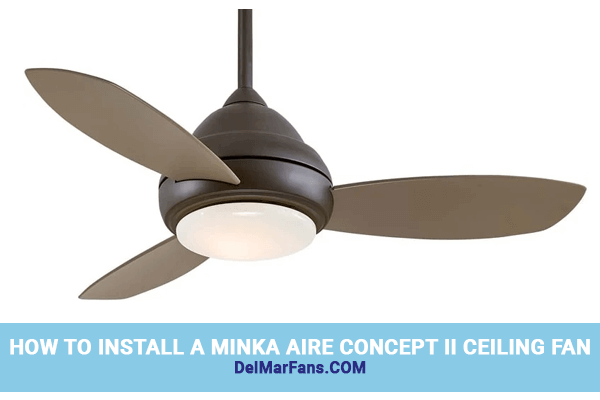
During the summer, people residing in older homes with low-profile ceilings are more likely to feel rising temperatures because the low structures trap heat. Installing a low-profile ceiling fan like the Minka Aire Concept II is a great way to combat the summertime heat. We at Del Mar Fans & Lighting made a Minka Aire Concept II ceiling fan install how-to video so our customers can see how to easily assemble and install this hugger fan in their own homes.
Choose the Minka Aire Concept II for Low Profile Ceilings
The Concept by Minka Aire ceiling fans installs flush against the ceiling, allowing for a seven-foot clearance between the fan blades and the floor. The hugger fan offers two blade sizes, a 44-inch blade set for rooms ranging in size from 110 square feet to 150 square feet, and a 52-inch blade set for rooms ranging in size from 150 square feet to 300 square feet. The three furniture-quality blades insert directly into the motor housing without the use of screws, washers, or tools.
MATERIALS
- Phillips-Head Screwdriver
- Straight-Slot Screwdriver
- Pliers
- Wire Cutters
- Ladder
PRODUCTS
For this installation, we utilized a Minka Aire Concept II ceiling fan with integrated halogen lighting and wall control.
How to Install the Minka Aire Concept II in 10 Steps
The Minka Aire Concept II ceiling fan install requires 75 percent less time to complete than traditional ceiling fan installations. Begin by turning off the power at the circuit breaker box and confirming all the ceiling fan components are included in the packaging. Use the owner’s manual and the steps below as a guide:
- Secure the hanger bracket to the junction box with the screws and washers provided
- Hang the motor assembly from the hook on the hanger bracket
- Insert the receiver unit into the hanging bracket with the receiver facing the ceiling
- Connect the motor wires to the receiver wires and the receiver wires to the house supply wires, secure all wire connections with the plastic wire nuts provided
- Loosen the two screws that line up with the keyholes and remove the other two screws from the hanger bracket
- Lift the motor housing to the two keyhole screws, twist to lock in place
- Install the two screws previously removed and securely tighten all four screws
- Insert the fan blades into the slots on the motor housing until they are snug
- Install the 100-watt light bulb into the light socket in the motor housing
- Attach the glass shade to the motor housing, turn clockwise until snug
Following Minka Aire Concept II ceiling fan install, use the three-speed handheld remote control to test the ceiling fan's speed and lighting. The Concept II fan is available for indoor and outdoor ceiling fan installation and use. The UL-rated ceiling fan is suitable for wet locations such as exposed gazebos, patios, or porches. These ceiling fans are available in a range of sizes and finishes that complement cotemporary and transitional home décor.


